Add Network
Note
To create and delete a network, as well as view and change settings, you need SOC administration rights.
Proceed as follows to add a new network to the list of networks for a company:
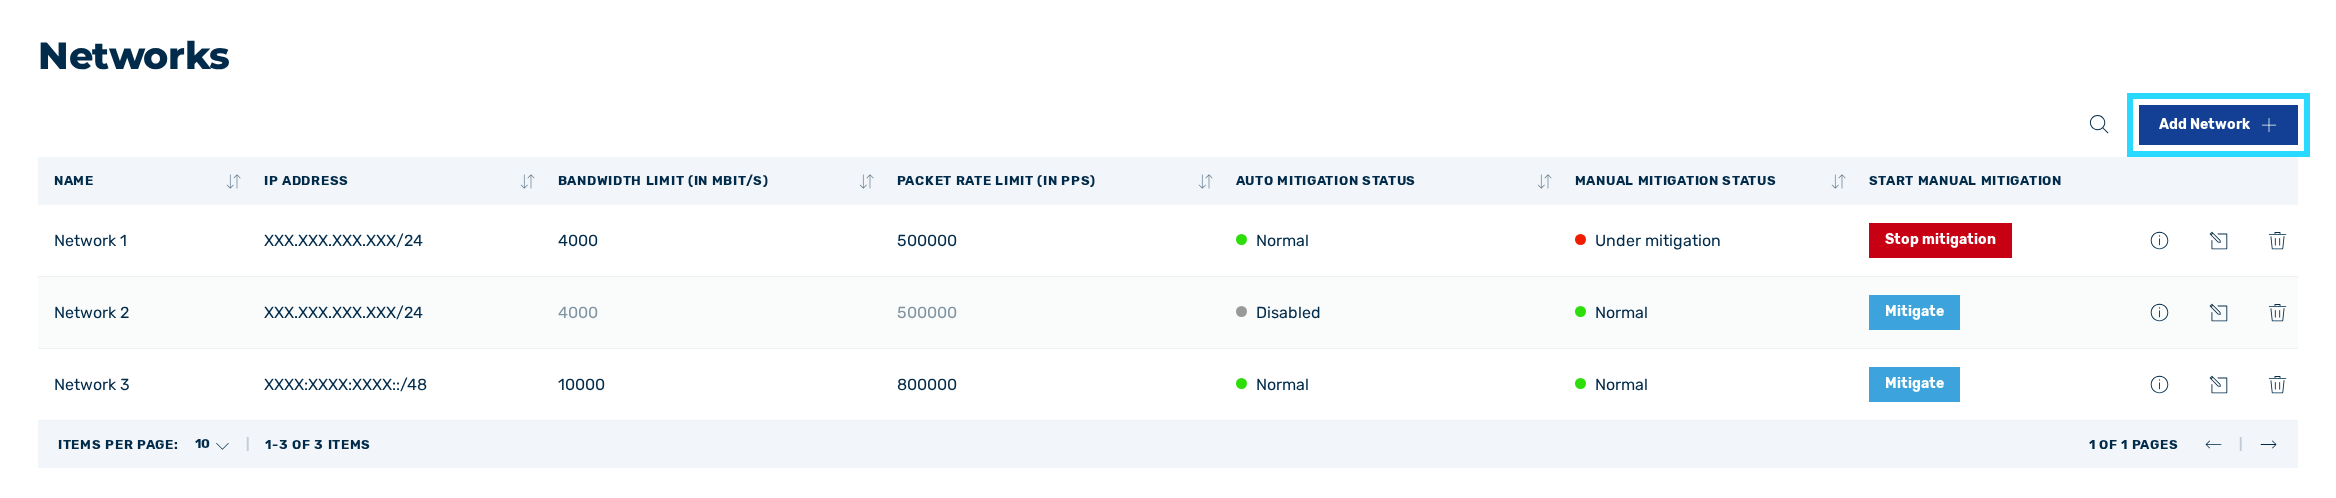
Button to add a network
- ► Click on the Add Network button.
- ↳ The Add new network dialog opens.
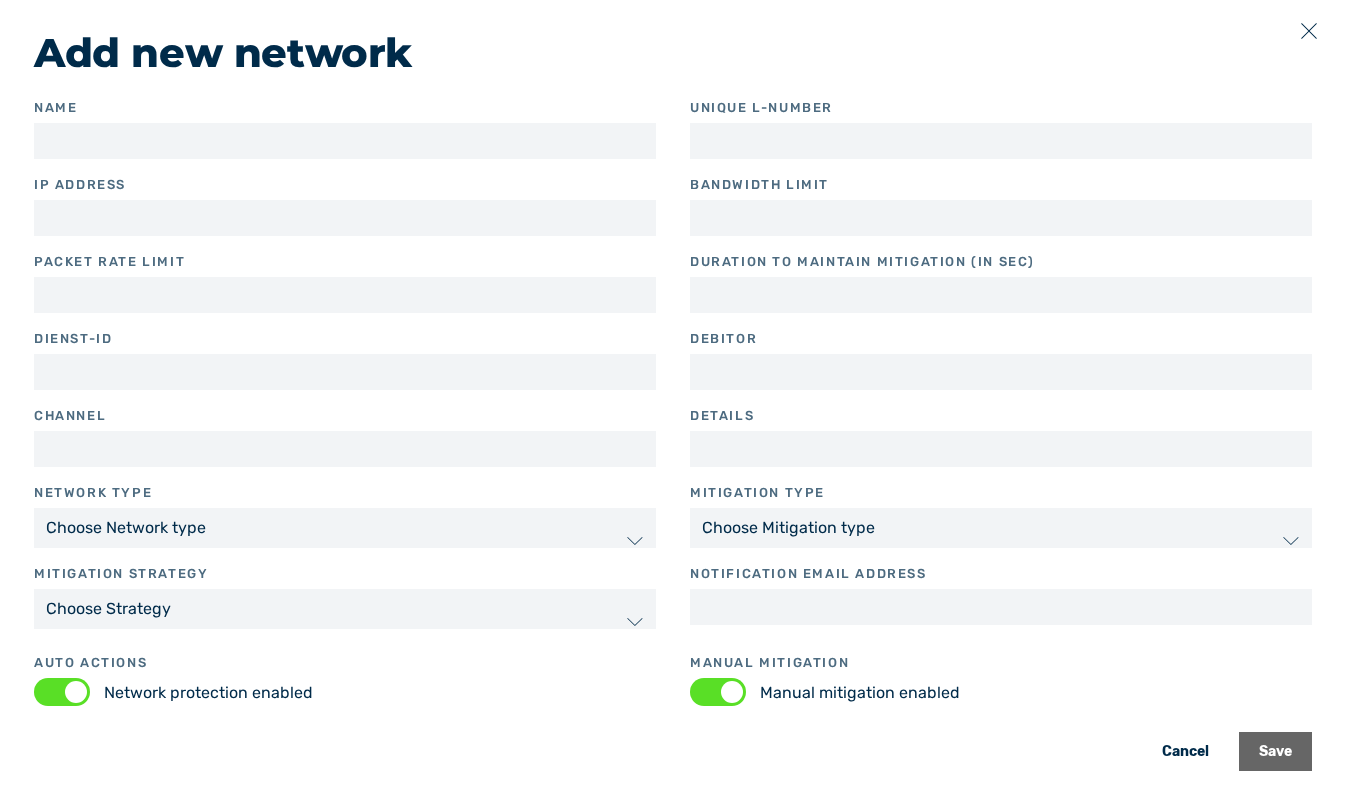
Add network dialog
- ► Enter the name of the network in the field under Name.
- ► Enter the IP address of the network in the field under IP Address.
-
► Enter the maximum number of permitted packets per second in the field under Packet Rate Limit (in PPS).
Note
If the switch for the network protection under Auto Actions is disabled, no thresholds can be set.
-
► Enter the corresponding value in the field under Dienst-ID.
- ► In the field under Channel enter the corresponding value.
-
► Select the corresponding value from the drop-down list under Network type. The following values are available:
- RIPE: Uses the Regional Internet Registry for Europe (RIPE) as the network type.
- RIPE (PI): Uses the Provider Independent Address Space (PI address space) as the network type.
- RIPE (LIR): Uses the Local Internet Registry (LIR) as the network type.
- RIPE (AS8881): Uses Versatel's autonomous system (AS) as the network type.
- SUBNET: Uses a self-defined IP address range as the network type.
-
► Select the corresponding value from the drop-down list under Mitigation Strategy. The following values are available:
- ↳ IP: Only a single IP address of the network is automatically mitigated.
- ↳ CIDR: The entire network is automatically mitigated.
- ► If necessary, enter an email address in the field under Notification email address.
- ► If necessary, enter the unique customer number of the company in the field under Unique L-Number.
-
► Enter the maximum possible bandwidth in the field under Bandwidth Limit (in MBit/s).
Note
If the switch for the network protection under Auto Actions is disabled, no thresholds can be set.
-
► In the field under Duration to Maintain Mitigation (in Sec), enter the duration of the mitigation in seconds after the traffic has fallen below the thresholds.
- ► If necessary, enter the corresponding value in the field under Debitor.
- ► If necessary, enter an individual comment describing the network in the field under Details.
- ► Select the corresponding mitigation variant from the drop-down list under Mitigation type. The following values are available:
- ↳ BLACKHOLE: If the threshold value is exceeded, all traffic is discarded.
- ↳ ONPREM: If the threshold value is exceeded, the traffic is filtered via the internal servers.
- ↳ CLOUD: If the threshold is exceeded, the traffic is filtered via the Myra data center.
-
► If necessary, disable the switch for the network protection under Auto Actions.
Note
If automatic network protection is disabled, mitigation will not start automatically and must be performed manually.
The network is nevertheless visible in the list of networks in the Networks view.
-
► If necessary, enable the switch for the manual mitigation under Manual Mitigation.
Note
If the manual mitigation is disabled, the Mitigate button cannot be clicked.
-
► Click on the Save button.
- ➔ The new network is created and the traffic data appears in the Dashboard view.